Q: How do I replant my new carnivorous plant?
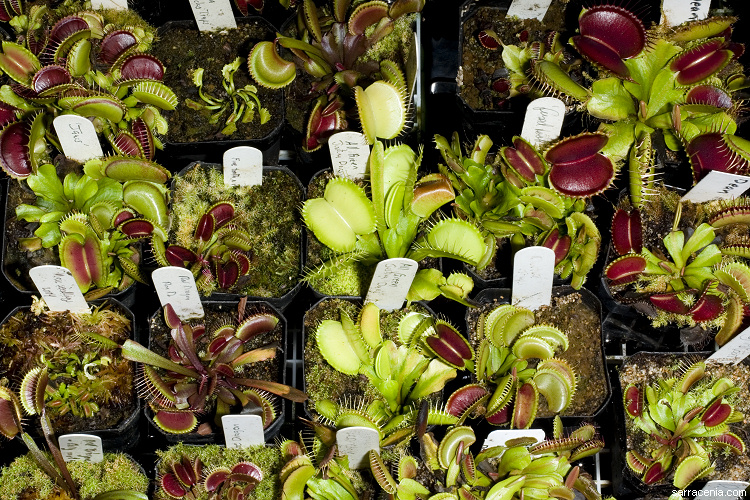
Dionaea clones
Drosera nitidula
Pinguicula
rotundiflora
Utricularia
jamesoniana
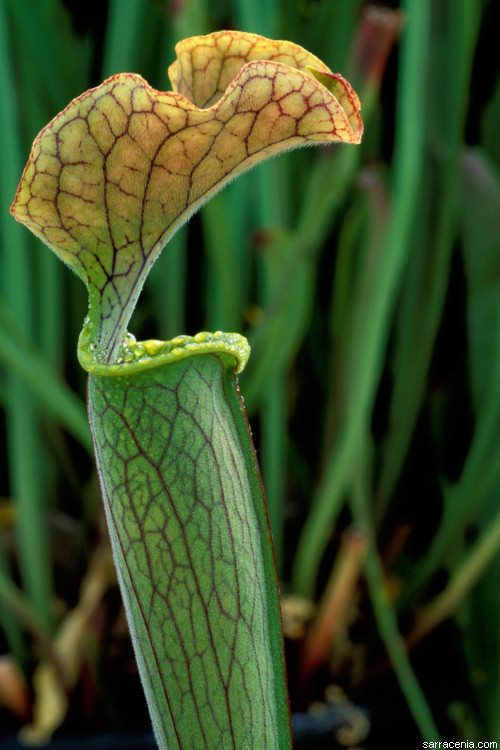
Sarracenia
alabamensis
subsp. wherryi
A: I must remind you that if you are a brand new grower, and you want to
transplant your new carnivorous plant because you just feel you should...well, don't. Are you afraid your plant is in the wrong
soil mix? If it were in a really bad mix, it probably would have died within a few weeks, and it is unlikely it would have gotten to
the store in time for you to buy it. Now that you bought it, it will be stressed as it
adjusts to your growing conditions. Why add to the trauma by screwing around with its root system?
Furthermore, carnivorous plants live in very poor soils, and as a result most have root systems which do little more than
anchor them to the ground. They don't need much root room, so they don't need a big pot.
(Yes, I will admit to advanced growers that carnivorous plants do appreciate a larger pot, but remember I'm giving instructions to
inexperienced people right now, ok?)
Here are details on two transplanting methods that I usually use. Choose which is appropriate.
Gentle Method
I recommend this for nearly all cases. Use this method used when the old soil was a good mix, and you are just increasing
the pot size to supply more root room to accommodate an enlarging plant.
Fill the new pot with the same soil mix that was so successful for you before. A good soil mix for most carnivorous plants is
a 50:50 sand and peat mix. For
Nepenthes, consider a 50:50
long fiber or milled Sphagnum and perlite mix,
and if you don't have Sphagnum (oh dear), then maybe you can get by with a
5:2 peat and perlite mix, although I don't think I'd like to
try it.
Water the soil-filled pot with purified water, and pat it down with a firm hand to make sure the mix is in place. Do not smash
the soil really hard, though. Then, excavate a hole about as large as the pot that your plant is currently in. Gently overturn the
pot with your plant in it, so the plant and soil slides out. Put the plant and its old soil ball into the hole in your new
pot, firm things up, apply another dose of water to settle the soil, pretty it all up, and you're done!
If you feel the need to position your plant carefully during the potting process, use your fingers for the job as they are the
most sensitive tools you have available. I suppose you could use your tongue, but that would be a little freaky. If your fingers
or tongue are too thick for the job, the erasure-end of a pencil is a good surrogate.
Gardeners familiar with conventional plants will often do things like slice up the root ball, or fluff the root system, or
something like that. If you must do that, stop growing carnivorous plants. Grow tomatoes instead.
Cruel, Invasive Method
I recommend this method only in extreme cases. For example, perhaps someone foolishly fertilized your plants (that has
happened to me a couple of times), or watered your plants with full-concentration seawater (yep, that has happened to me too).
Or perhaps you have been given a plant that was just repotted by some oaf in "potting mix", which is probably deadly
to carnivorous plants. Or perhaps you've discovered
some dreadful pest like root mealybugs or a rhizome-boring creature like black vine weevils, and you need to assess the
damage or manually remove the pests.
In this case, prepare a new pot as before. Fill it with the proper soil mix.
Remove the plant from the pot, as before. This time, use a hose to wash the soil from the root system. Wash, and wash, and wash.
Soon (very soon if it is a sundew or Venus flytrap, longer if it is some kind of pitcher plant), you will see the root system.
For a final rinse, use properly purified water instead of hose water.
From a botanical perspective, it is quite instructive to inspect the root system. But do not let it dry out!
Some growers recommend soaking the freshly depotted plant in a bucket of water, as this helps loosen the soil from the root
system. The hideous process of soil removal can be made much less horrific for your plant this way.
Then, when you are finished, place the plant in the hole, and gently add soil, winding the roots around the soil in a way that
orients and spaces the roots much like they were in the previous pot. Be gentle.
Your plant will be very traumatized by all this, so I surely hope you have a good reason for doing it this way.
Afterwards
After transplanting, Venus flytraps usually look worse since their traps are mostly triggered
closed because of your jostling, while sundews often look just miserable. Expect that. They should recover.
I do not use transplant-shock compounds such as B-1 or SUPERthrive. I have done large-scale,
controlled experiments and have
never found them to have any effectiveness at all.
Page citations: Rice, B.A. 2006a; personal observation.